
Showing posts with label DIY PROJECTS. Show all posts
Showing posts with label DIY PROJECTS. Show all posts
Wednesday, March 18, 2015
WAINSCOTING BOARD AND BATTEN IN PROGRESS!!!


Sunday, March 1, 2015
ARE YOU READY FOR SPRING AND HERB GARDENS THAT ROCK?

Ok, I guess I’m cheating a just a little...I left that snow tundra almost 8
years ago to move here to southeastern North Carolina. So I am not experiencing it as badly as some, but I am definitely still ready for
Spring! So, with spring came thoughts of flowers, greenery and gardens. And that made me think of my herb garden. I love
herbs, especially Basil.
Saturday, February 7, 2015
INDUSTRIAL PIPE SHELVING -OH HOW I LOVE YOU!!!
 |
| LOVE IT! |
Hey there! So what are you doing this weekend? Well, let me
tell ya about mine so far, because I really am just so happy with my Saturday
project. The hubby and I spent this weekend working on a project I have been
obsessed with lately. Obsessed! Industrial
pipe shelving! I am just so in love with this. Although I realize I am probably
a bit late to the party on this one, none the less I am hooked. I really wanted
to be sure about this so I waited and waited…continually searching and looking
at every Pinterest post I could find. I didn't want to do this unless I was
sure, since it’s pretty damaging to the wall and not something you take down
after a month or two. So once I knew I was sure, this weekend was the time....
I had a few things on my mind this week that I didn't want to focus on so I was looking
for a project to take my mind off it. And this was it! Have I mentioned I LOVE
LOVE LOVE this project? I mean I really think this is probably my most favorite
project I have done in a long time. Maybe EVER…haha is that a bit dramatic? Take a look!
 This project isn't exactly hard, but it is definitely time
consuming and certainly needs your patience. (And a willing husband or partner helps).
This project isn't exactly hard, but it is definitely time
consuming and certainly needs your patience. (And a willing husband or partner helps).
We bought all our part at Lowes. The shelves were bought
from their lumber section. We bought a 2 by 10 by 16 ft. length of wood and had
it cut down to five 38 in shelves. The lumber for the shelves was only $14.52.
Then we went over to the plumbing section and bought the lengths of black
piping we needed, along with the elbows and flanges. We bought ¾ in pipe. That
was the costly part. I haven’t added it all up yet but I would guess about
$200. But considering for me it added tons of storage, it was well worth it. The
piping is cheaper if you buy a 10 ft section and have it cut by them. The board
we bought was actually only 9 ft in depth even though it says 10. But actually
the 9 ft depth is what I really wanted. I left all the cutting and calculations
up to my husband. I just knew I wanted 5 shelves with 1 shelf being 18 inches
high and the others 12 inches high.
 |
| Believe it or not, these were the most pricey parts...the flanges. About $5.50 a piece and we needed 12. |
Once we got it all home I began the tedious part of peeling
the pricing off each piece of pipe. Seriously, they put stickers with tape around
each 10 inch section of pipe! What a pain.. And the hubby began his tedious job
of measuring every thing out, setting up and drilling and measuring. We had a
few trial and errors but the whole project (actually building it and
installing) took about 3.5 to 4 hours.
Since I am not really good at step by step tutorials I will
tell you that I just went on Pinterest and searched “industrial pipe shelves”
and found zillions! I didn't really use a particular tutorial myself. I just
looked at all of them, found what I wanted and showed my husband. We figured it
out as we went. I will say this…put it together first on the floor how you want
it and then lift to the wall and drill in place. And use screws with anchors in
your drywall because it is heavy. But it is extremely sturdy.
 |
| I love the added storage these added and the look too! |
I still have to stain the shelves a darker color but I
couldn't wait to try them out. I decided to wait till we get a few warmer days
in a row to stain them because I really want to do it outside due to the fumes.
I’ll just take the stuff off then and do them. I’m also still arranging and
re-arranging things on the shelf, but quite frankly, that the fun part! And oh
my gosh, these will be so useful as extra pantry! The shelves look great I
think but more than just aesthetics they hold a ton. So did I mention how much
I love them?! J
What do you think? Do you like them?
 |
| The shelves before loading. |
 |
| The shelves loaded up. :) |
Monday, September 8, 2014
MY WHIMSICAL TREE IS FINALLY ON THE WALL!
Every room should have a little bit of whimsy!
 |
| I did it! I actually free hand painted a tree on my wall! Yay me. lol.... |
I am so pleased at how this tree turned out! And also, so pleased it is done! It was kind of a spontaneous last minute decision. I mean I have always wanted to paint a tree on my wall, but I wasn't prepared to do so. But today it was pouring rain and I got the itch and looked around to see what paint I had on hand and voila!
Saturday, March 8, 2014
THIS WEEK'S DIY PLAN WAS A TOTAL BUST!!!!!!!!
 |
| The Blissful Bee Blogspot |
Well this week was a bust. I had it in my head all week that this was the
weekend I was building my brand new beautiful Factory Cart coffee table for the living room. I have
the coffee table in there that I "checker boarded" and I'm using but it just
doesn't work with the room. It isn't my style and quite frankly...I just don't like it.
Monday, February 24, 2014
MY LIVING ROOM FACE LIFT...SHE LOOKS 20 YEARS YOUNGER!
Here is my new living room! It's not exactly "done" because my home is always a work in progress. Always. But is done for a while. And it is definitely a much happier room. :) I think it's smiling now -I know I am! Take a look! I absolutely love it...what do you think??

So we went from this room which I also loved once upon a time too for all it's color..
So we went from this room which I also loved once upon a time too for all it's color..
Thursday, December 12, 2013
PAINT ME..PAINT ME.. PLEASE!!!

 So this is a coffee table that I have had for.. oh about 12-13 years.
 Not in the house, mind you, but it's been around. I haven't used it for at least 8 or 9 years. But it's still hanging out. I tried to give it to my son (He used it for a tv stand) and that lasted a while until it ended up back in my garage recently. So here it is again. hmmm....I just can't get rid of it! So I think I might use it again. It's really not my style, especially the legs. But I might give it a try...only -not like it is of course. It's begging for a make over. I am thinking that this might be my next little project. Not a real "project" that takes an a considerable amount of time...just a Saturday afternoon kind of thing. But as easy as it is, I keep putting it off. So maybe this Saturday..... maybe. So I found a few painted ones online that give an idea of how it will look....
 |
| I AM DEFINITELY NOT A "PINK" GIRL!!! |
 |
| I ABSOLUTELY LOVE THE MUSTARD COLOR BUT NOT FOR THIS PARTICULAR ROOM |
 |
| AND I DO LOVE WHITE, BUT STILL, IT IS KINDA BORING...... |


Monday, December 9, 2013
Painted Interior Doors
So I was over checking out the most recent post of Kristi's, a fellow blogger that I follow. And can I just say that I just love her blog? (link below)
She is such an inspiration both in decorating and blogging itself! I am absorbing all the learning experience I can from her! But anyway.....she had a post about painting interior doors and was asking what others thought of it. I commented on it because I did just that. -I painted all my interior doors on the first level of my house about 2 months ago. And I LOVE them!
I have always just had plain old white doors and never really thought much about it. But this time around I did. I first painted my front door (the exterior door) a beautiful turquoise and fell in love with it. You can see that beautiful door here. Then I painted all the rest of the doors inside the same color. Big mistake. What was beautiful in a small dose for the outside door, was way too much inside. So I repainted them a beautiful soft greyish blue called Yachtsman by Valspar. Check it out...do you like??? This color gives the whole downstairs a cohesive flow since I have used various greys, blacks, whites and yellows downstairs.

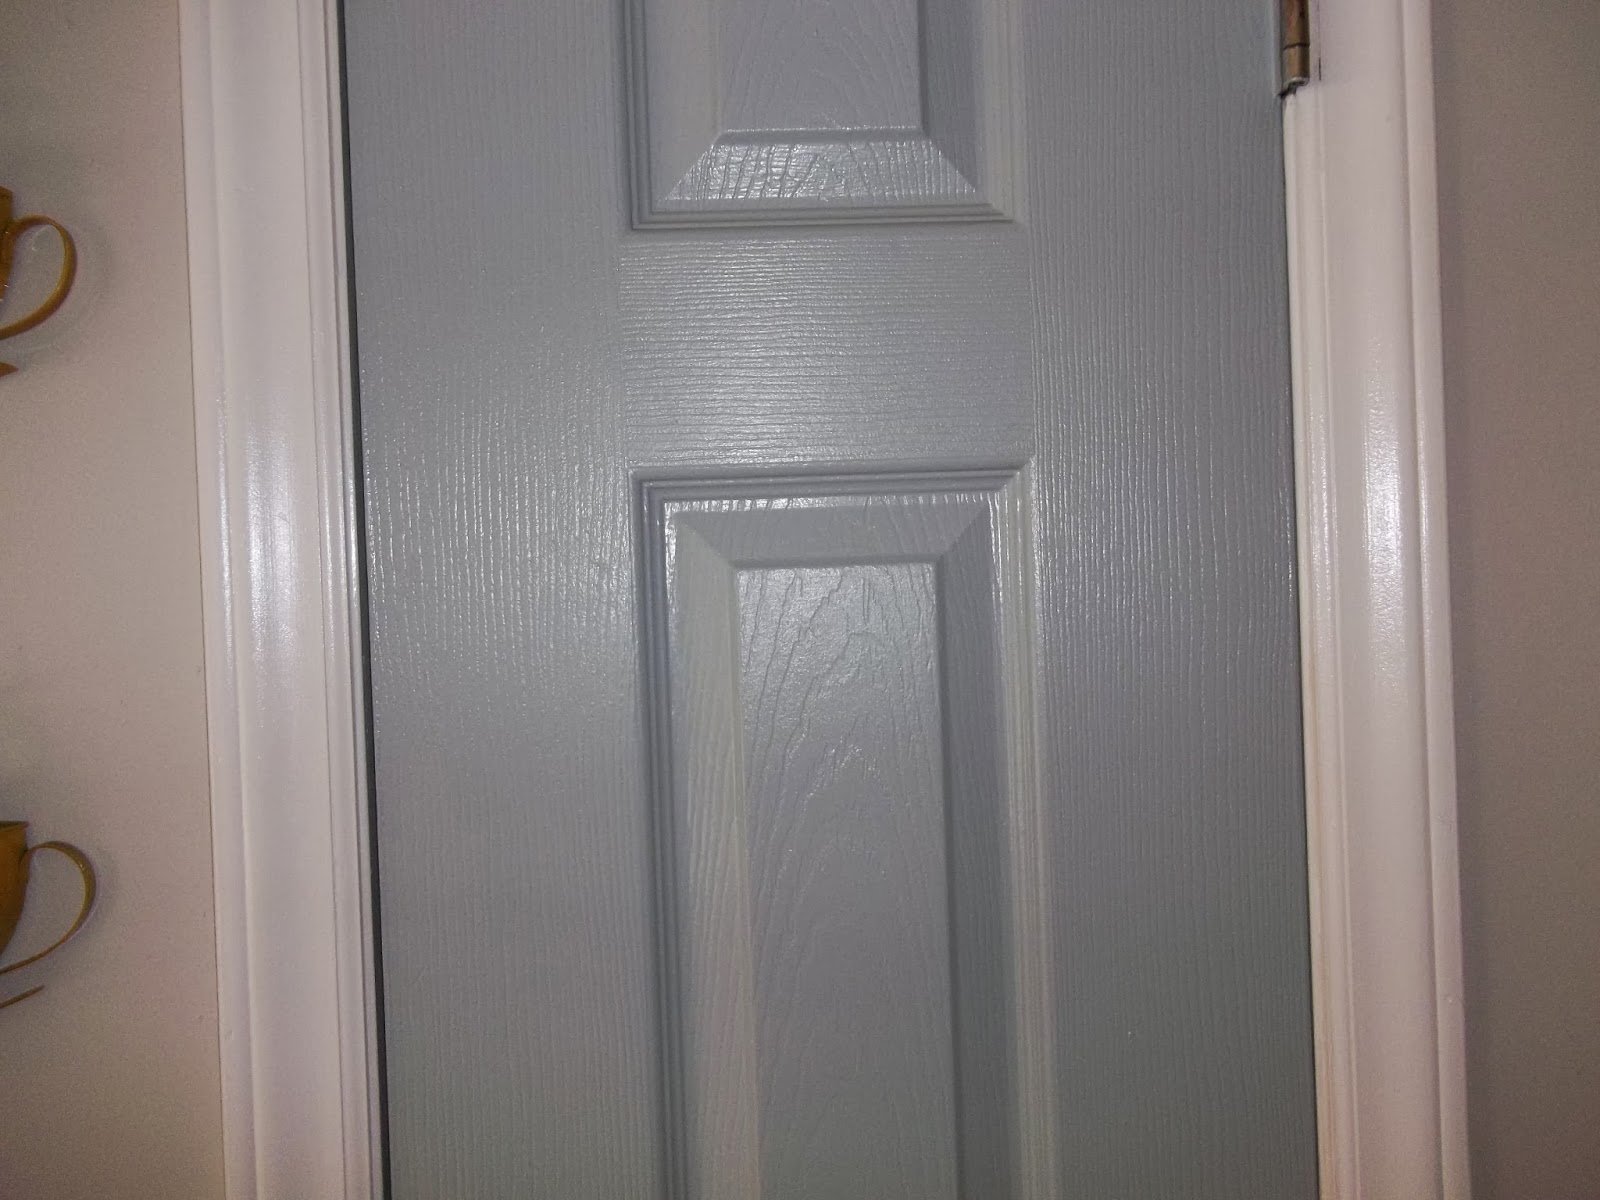 |
| Kitchen "trash" door |
 |
| Downstairs Powder Room door |
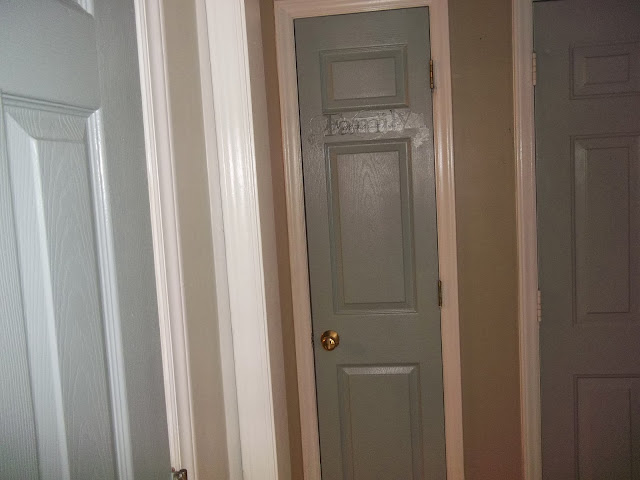 |
| view from standing in the kitchen to the hallway |
So check out the link here if you'd like to see the original post that I was referring to of one of the blogs I follow!
Heres a few more pics of the downstairs doors...
.JPG "http://buildingsandcastlesinthewind.blogspot.com/") |
| Pantry door with chalkboard |

Tuesday, November 5, 2013
Fireplace Mantel Surround
HERE'S THE BEFORE....

Sunday, September 8, 2013
My "new" lamps!
So, I bought these lamps at Lowes. I loved them. Problem was...I didn't really "love" the decor in my formal (yeah, like anything in this house is formal..but that's what they call it I guess) living room. I have a family room that we really "live" in but this room is right at the entrance of the house and it is my favorite room to go to read in or just hang out for a little quiet time by myself. It had a lot of green so I thought these lamps would work but then when I switched out the green in the room, the lamps didn't work. So.....a little painters tape, some white gloss spray paint, and new shades and a totally different look! What do you think? The green pic on the left shows they had white shades which is a little hard to tell but .....the new shades (also from Lowe's) were on sale for $12.99! I love the new look.


and now the room fits!
BANG FOR YOUR BUCK!!! A Kitchen Re-do!
Take a look now!!! I just love it!


AND ANOTHER CLOSE UP OF THE COLOR...
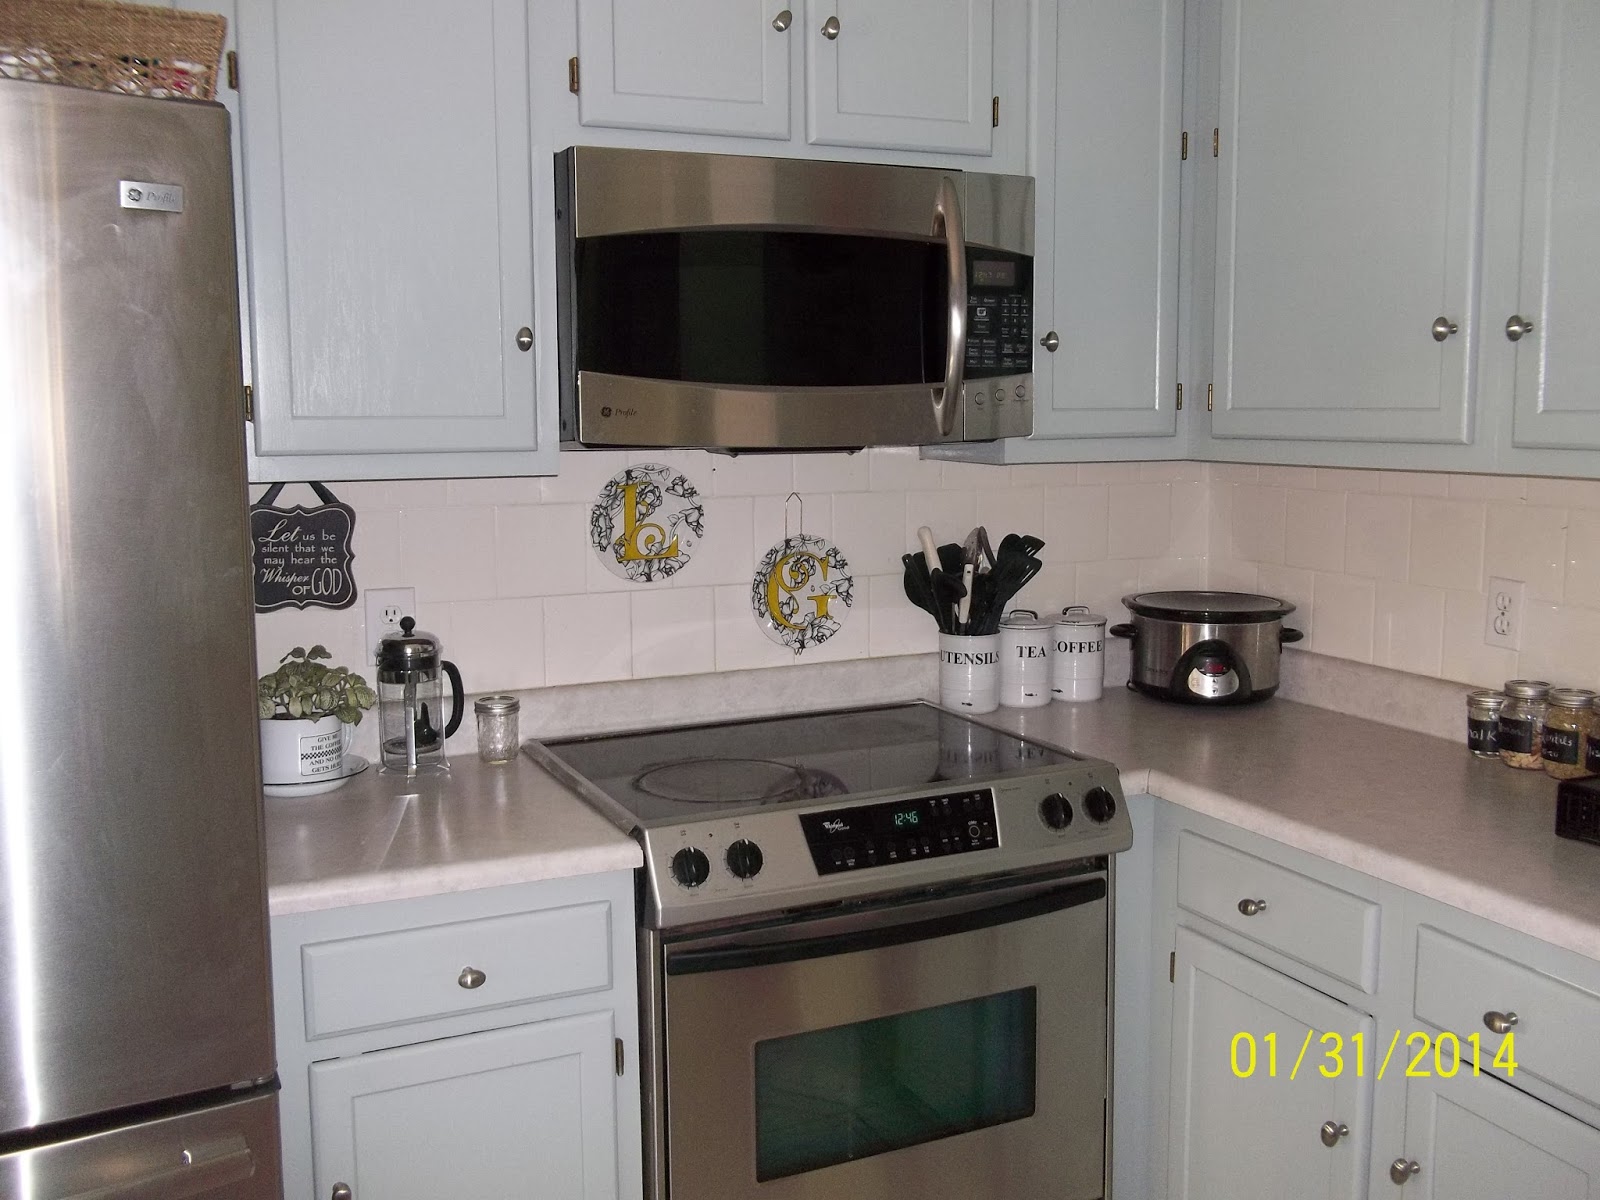

to this....

AND HERE ARE SOME OF THE BEFORE AND DURING PICTURES.......
Subscribe to:
Posts (Atom)