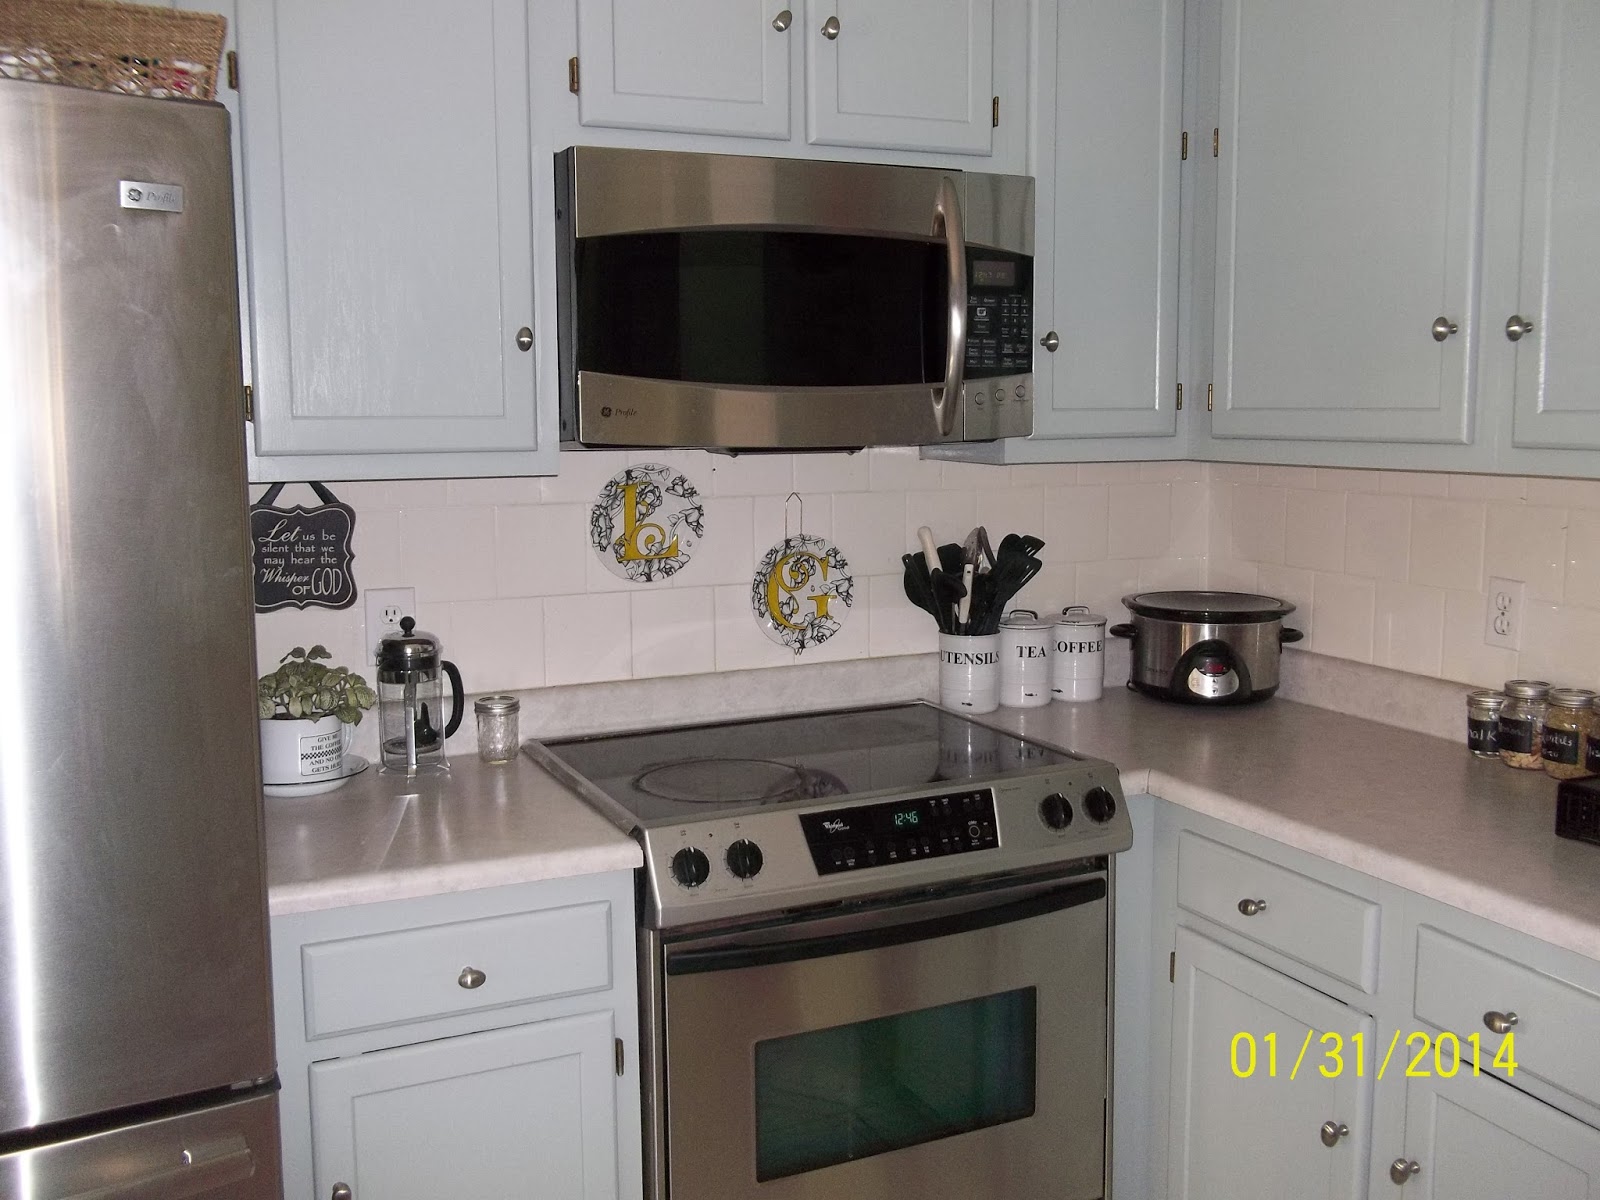
Take a look now!!! I just love it!
AND ANOTHER CLOSE UP OF THE COLOR...
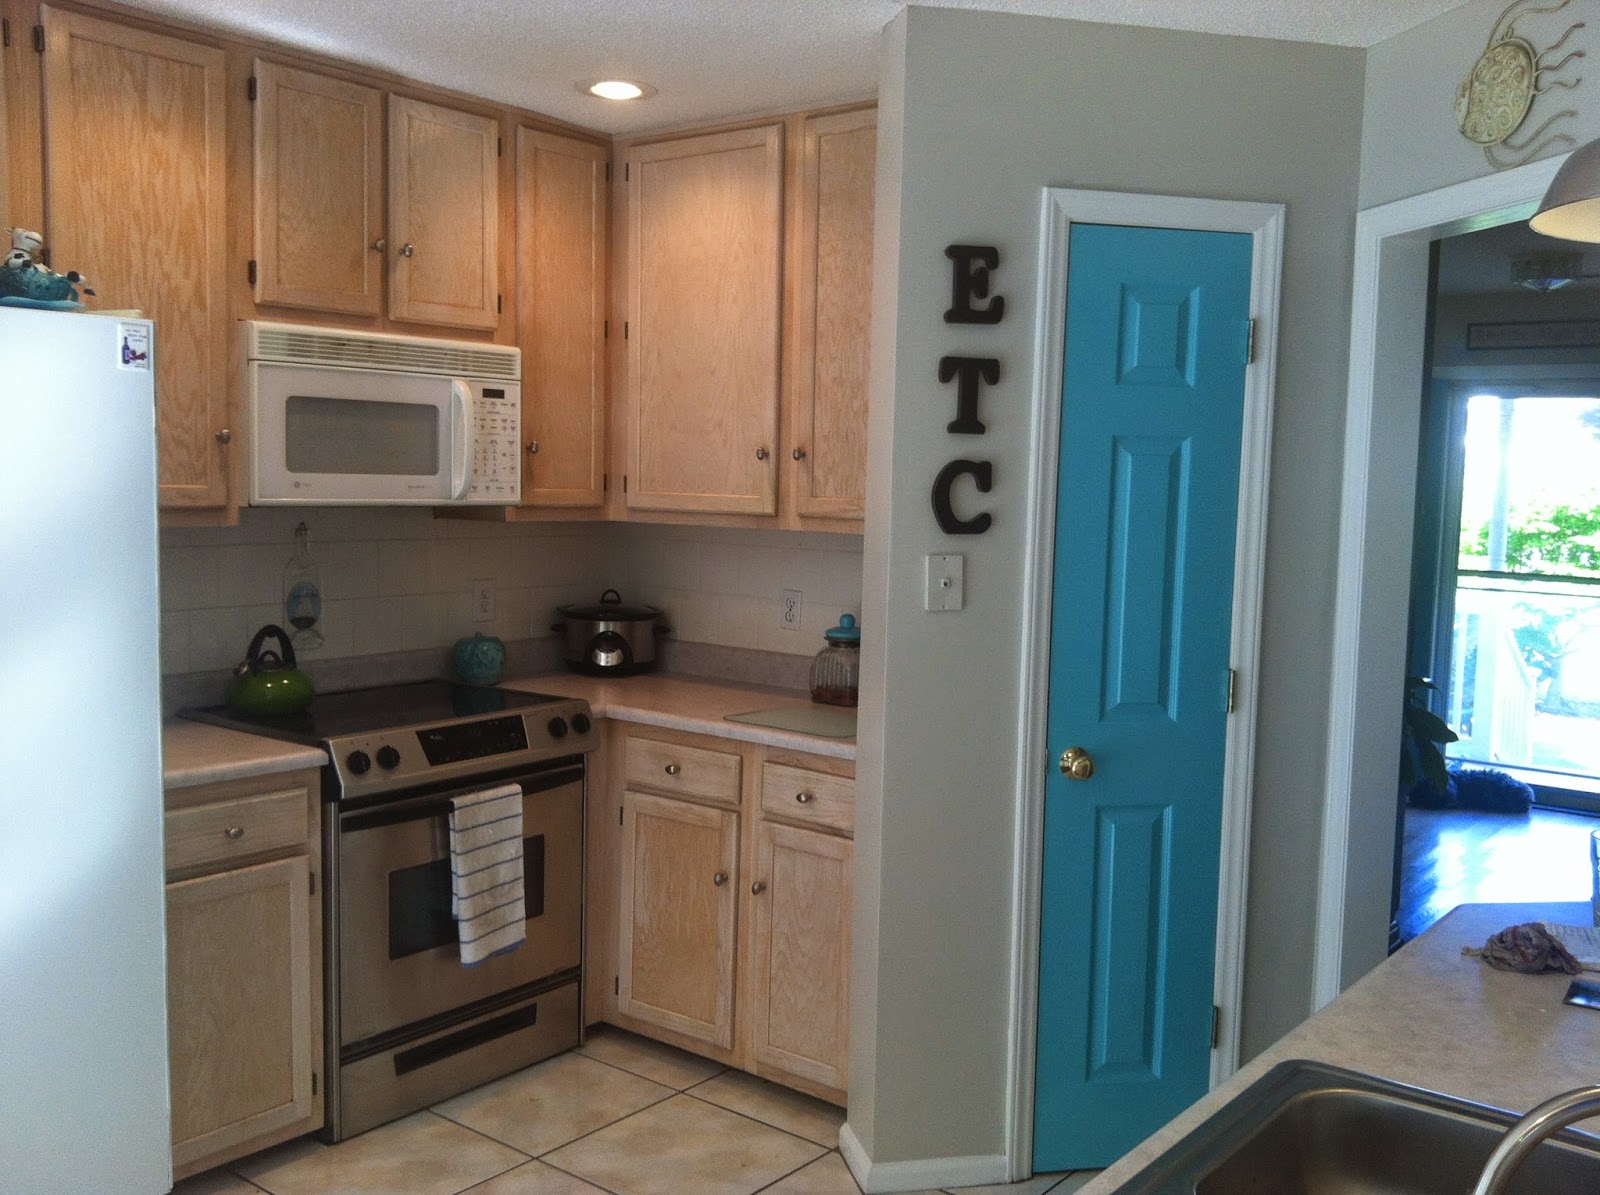
to this....
AND HERE ARE SOME OF THE BEFORE AND DURING PICTURES.......
And as you can see, I tried different colors on them. Most, (even though they look blue) are in the grey family. Just all different shades of grey. I think choosing the color was harder than the job itself!
I read and read and read and then read some more on painting kitchen cabinets. Well it intimidated me quite a bit so I put it off for a year. And then another year. Well now we've been in this house for 6 years and I still had ugly builder grade cabinets in dire need of painting. No more excuses or fear. So I just did it. And guess what? It wasn't nearly as bad as I thought. I read so many in depth blogs and so many step by step instructions and all it did was make it seem harder than it was. And everyone made it seem like a month long job. Well it took me 4 days. Start to finish.Here's what I did. I cleaned my cabinets very good. And I mean scrubbed them down! Took blue painters tape (that comes off easily) and marked on the inside of each one which cabinet door it was. Then I grabbed my screwdriver and took them off.
I put all the screw together in a small box so as not to lose any. Along with all the hardware. I borrowed my daughters palm sander, bought some hand held sanding blocks too.I lightly sanded them, (just enough to remove the glossy sheen). I sanded them lightly but good. All over and then sanded the door jams etc in the kitchen. And then washed them all down again to remove the residue. They sat on my dining table all night so they were dry. -I'm kind of a lazy blogger, so do I really have to tell you to lay plastic down under the cabinets? Do this in your garage if ya can? Open windows for ventilation when ya paint? etc etc....I don't have fancy pics either of the tools I used. So this is it...
Palm sander
sanding block
painters tape
screwdriver
plastic drop cloths
paint brush (get a good one, you won't leave pieces behind)
small rollers (I think they're actually called weinee rollers)
Paint ( I used less than one gallon for two coats. I used Valspar. Yachtsmen (Grey). In a satin sheen. This paint is very thick though and I saw a lot of people who were not happy with it when I checked other blogs. I was ok with it but...... I might not use it next time. Not the actual finished product but the ease of using it I guess is what I didn't really care for.
So there ya go.... seriously. That's it. Wash them really really good. Take them down. Sand them to get the glossy finish off. (Mine didn't have stain on them so it was probably easier.) Wash them down again after sanding or use a tack cloth to get the debris off. When ready...Paint! Paint the inside groves or corners first, don't try to cover in one coat. Then paint the whole door. Use the weinee roller to give it a finished look. LET THEM DRY 24 HOURS!!! That's important. Then LIGHTLY sand them again. And I mean LIGHTLY so you don't take the paint off. You're just making sure the second coat adheres good and that there is no little paint fuzzies. (?). Then repaint another coat. This is where your personal choice comes in. I used the Valspar because it was primer and paint in one. A little harder to use (just cuz its thick) but less coats needed. I didn't have to prime my cabinets. If you use regular paint then you will have to prime them first. Ask your Lowe's guy for a good primer. Prime, Paint, Paint. Done. :) I waited till they were dry and hung them back up. And I knew where each one went because I had labeled them with the painters tape on the inside. Okay, I may have made this sound a little easier than it actually is but I felt like it really was easier than what most blogs made it sound like, And talk about bang for your buck!! The whole thing cost me under a hundred buck and they look great!!!!!!!!! Check it out... BEFORE
 |
| BEFORE!!!! UGLY CABINETS AND OLD APPLIANCES.... |
BEFORE 2 AND YOU CAN SEE THE TABLE IN THE BACKGROUND WITH THE CHAIRS I JUST REDID.
AND IF YA THINK THEY DON'T LOOK TO BAD, HERE IS AN UP CLOSE PICTURE OF THE CABINETS BEFORE PAINTING.
YUCK! RIGHT? (And I put it off for 6 years!)
AGAIN, BEFORE......
AND TA DA!!! AFTER!!!!!
and the other end
I just love my kitchen. Did I mention that? lol...yeah I know I got new appliances too and that made a big difference too. But the paint job alone made a huge difference. I even painted the pantry doors to match. 4 days! No big deal. No big deal but I have to admit. It was tedious tiring work and after the first coat I just wanted to be done with it! Not something I would want to do again! But worth it. And that's my story and I'm stickin to it! :) it's not quite done yet. I am adding a pop of yellow to the accessories and I am loving that. And just got a new rug too. Boy oh boy, what a change!
Here's some other links to help you find out what you like and how to do your cabinets in case my way wasn't clear enough. Or just enough. :)
and here's a much more detailed writing about repainting your kitchen cabinetry.


....and it turned out beautifully!
ReplyDeleteThanks Suzi!
DeleteLove it!
ReplyDeleteAnd it turned out wonderful! -Larry
ReplyDelete